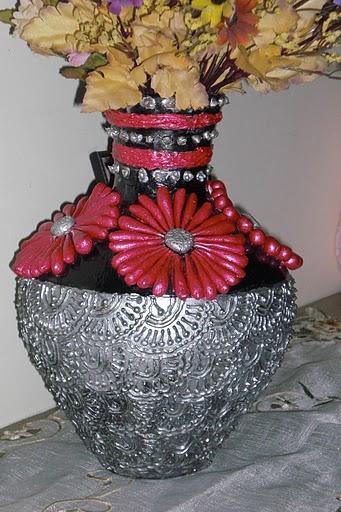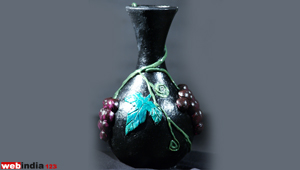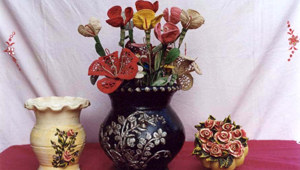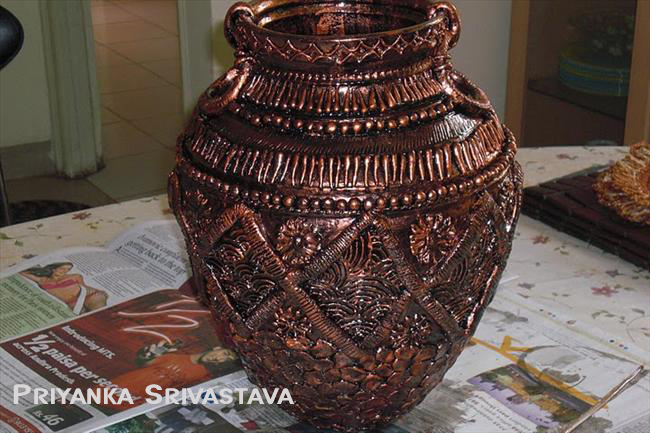
Antique
Pot |
| |
Pot Painting Day 1 Preparing the clay
pot
|
| » |
Use the sand paper on the pot thoroughly to smoothen out any rough edges.
This also helps in less paint being soaked in by the pot.
|
| » |
Wash the pot inside and outside with water and keep in sun to dry out.
|
| » |
Once thoroughly dried, apply two coats of primer. Run the brush in any
direction and once the first coat is dry, apply second coat. Also make sure
to mix the primer thoroughly as the concentration tends to sit in the bottom.
|
| » |
Once primer is dry, apply base coat of Asian black paint. Again you can
run the brush in any direction, u just need to make sure that no brown/
white spots are visible. Leave to dry.
|
| » |
The brush is cleaned by pouring some kerosene oil in a bowl and dipping
the brush in it. Once the oil becomes the colour of the paint, discard and
repeat. Once all paint is gone from the brush, dip in lukewarm water mixed
with soap. Once you do not need the paints/ primer again, u need to pour
2 to 3 drops of kerosene oil in the can and then tightly shut the can so
that they are stored in perfect condition. |
| |
Day 2 - Making the clay dough and
making shapes out of them |
| » |
Take clay powder. Add in Fevicol SH, mustard / olive oil, little water
and short, very thin strands of cotton. Prepare dough. Take care not to
add too much oil or fevicol. Keep adding few drops of water and sieving
the dough till it rolls out perfectly in your palms without breaking or
showing any rough edges.
|
| » |
Wrap the dough in a plastic cover as it dries out very fast. Take out
small quantity in your hand to make designs with. Make sure to use the ball
of your palm and do not press with your fingers while making shapes. Keep
placing them in a plate. Once they are a little dry ( takes about 1 min),
you can stick them on the pot. |
| » |
Apply thin layer of fevicol on the pot. Once it is little dry ( takes
about 10 seconds), add the clay designs. |
| |
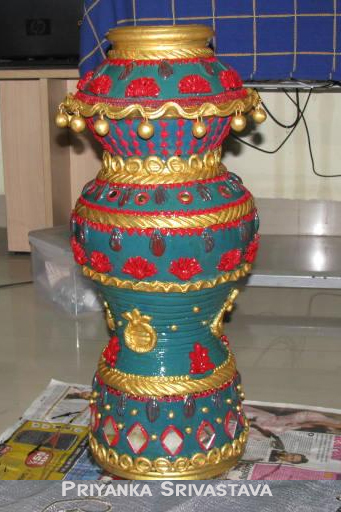
Day 3 - Making the ceramic cone |
| » |
Take ceramic powder. Add in Fevicol MR and little water. Prepare a smooth
mixture in a katori with the help of spoon(like mehendi). Take care to stir
in one direction only for 5 to 10 minutes.
|
| » |
Put the prepared mixture in a plastic bag, tie it with a band and cut
it from one side. Prepare cones out of milk packets and fill in with the
mixture. |
| » |
Make the appropriate designs( u can only draw mehendi designs with ceramic
cone). Apply thick layers so that once it dries up, it doesn’t shrink to
very thin lines. Let dry for one whole day. |
| |
Day 4 – Painting the pots |
| » |
Apply base coat of Asian black paint if you want
to colour the designs with silver, copper, gold. Make sure that you do
it from all angles so that no white spots are visible from any angle.
Let dry for 1 whole day. Apply the black paint inside the pot as well
as much as your hand can reach.
|
| » |
For using Pearl Metallic Paint, do not add water
as it will dilute the paint. Just apply directly on designs from the paint
bottle. |
| » |
For using copper, silver, gold powder, mix in little
powder with a drop of mustard oil/ olive oil and apply. Remember – this
paint will not dry on the pot, and you will need to apply clear varnish
at the end to prevent its rubbing off. |
| » |
To create a spray effect, take powder paint on brush
(e.g. silver powder, copper powder, gold powder), place in front of your
mouth and lightly blow onto the pot. Do not blow hard, otherwise the paint
will create thick spots on the pot. Make sure that the base paint had
been applied an hour or 2 hours back, so that the base is not completely
wet nor completely dry ( as the powder will not stick otherwise).
|
| » |
To use copper, silver, gold liquid paint, mix in
with sterile water (used for injections, available in chemist shops) as
the liquid paint is very thick. Do not mix with tap water for that dilutes
the colour. |