|
|
Saturday, April 25, 2026
|
|


Nib Painting |
| See Instructions | Picture Gallery |
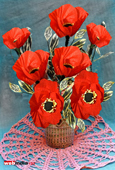
 Painting
is the art in which colours and lines make the visual impression. Besides
painting with brushes, knives, spatula, nibs and even twigs are used for
painting.
Painting
is the art in which colours and lines make the visual impression. Besides
painting with brushes, knives, spatula, nibs and even twigs are used for
painting.
Here, we are going to do a nib painting.
What You need.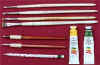
Tools/Accessories
Nibs- 3 types of nibs are available.
How to Do:
 Using
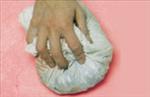
glue stick the felt on the hard board. Trace down the design on the felt.
Now you are ready to paint the design. Two things should be always taken
care while doing nib painting. One, you should always start painting from
top so as to move your hand freely towards down part. Secondly, you should
move your hand evenly while doing your painting. This gives the painting a
real look.
Using
glue stick the felt on the hard board. Trace down the design on the felt.
Now you are ready to paint the design. Two things should be always taken
care while doing nib painting. One, you should always start painting from
top so as to move your hand freely towards down part. Secondly, you should
move your hand evenly while doing your painting. This gives the painting a
real look.
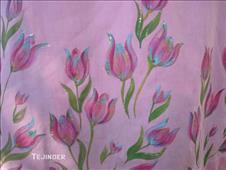
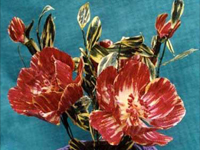
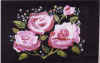
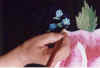
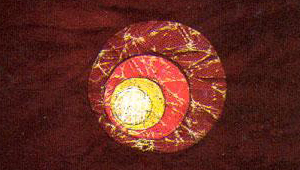
Decide on the shade scheme of your design. Since the petals are not of the same shade, white and pink paint should be used in good combination to get the double shade. Put the paint straight onto the felt. Press on it or score on the paint using the nib. Wherever a round design is required use the nib with round tip and wherever the small sharp lines are drawn short pointed tip nip is used. Generally long tip nib is used to do the lines. You can also take the paint on the nib and press it against the surface to create the design. You may take 2-3 days to finish off with a design. But do it patiently. You will enjoy this. The design will dry off very slowly, say by 10- days or more. The consistency of the paint is very thick. After the design is fully dried, get it framed.


_Thumb.jpg)