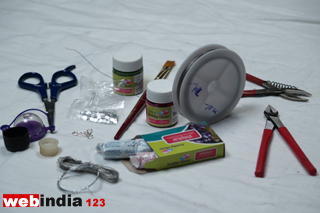
Besides these, you need to keep some old bottle caps of different sizes and shapes and some sharp objects like nails or needles handy, to make different shapes and designs.
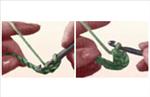
First of all we need to mix the m-seal. M-seal usually comes in two parts, in white and black. Take them out of the cover and mix well till you get a greyish white colour.
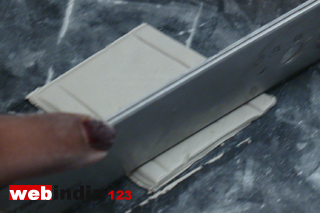
Dust some talcum powder on the rolling board and roll a piece of m-seal using a rolling pin. Using a scale or knife, cut out a square shape. Take some more m-seal and roll it and make a smaller square.
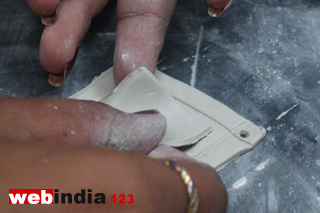
Place the small square on top of the big one that we have cut earlier. Now using a small bottle cap, cut out a small round shape. Place it on top of the small square.
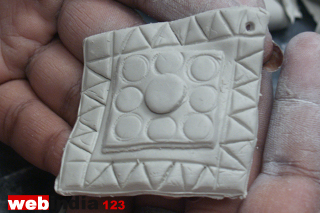
Now you can make designs on it using any sharp object. See! By simply pressing the object you can etch designs. Now this is our pendant. Don't forget to make a small opening on the edge. Keep it aside to dry.
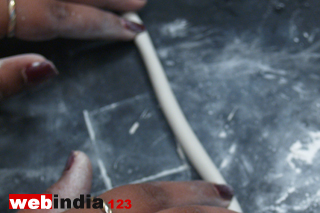
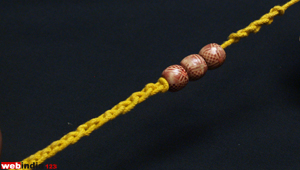
Now let us make the beads for the necklace. Take another piece of m-seal and roll it to a cylinder shape as shown.
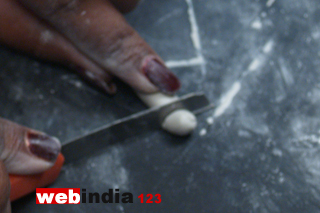
Cut small uniform pieces from the cylinder shape. Now roll them using your hands to get bead shapes. Using a nail or needle make holes in each of them.
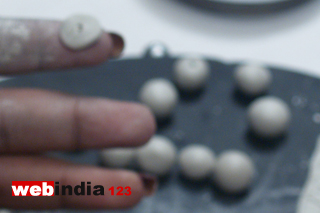
In the same way, make one more m-seal roll and cut equal parts from it. Roll and gently press it to give a coin like shape. Make sure that it is a bit thick and not too thin. Now roll an old toothpaste cap through the edge of the shape to etch a design. Make holes and let them dry. See the beads are ready.

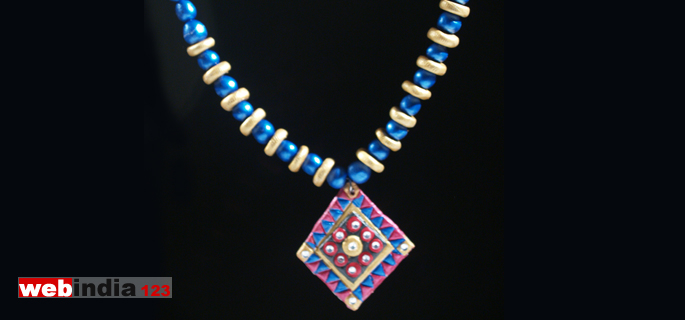
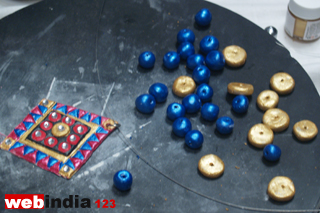
Our pendant must have hardened by now. Paint it according to your artistic sense. Here I am using dark pink, blue, golden, black and red colours.
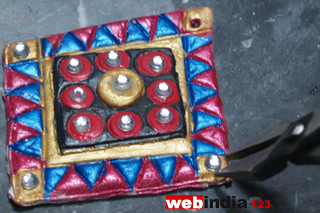
Once you finish colouring, you can decorate it with fabric stones. Apply a small drop of glue on the desired parts of the pendant. Pick up the fabric stone using nose pliers and place it on the glue. Let it dry.
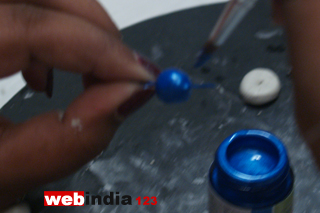
Insert the round beads into an aluminium wire. Arrange them at an even distance. Paint the beads with metallic blue colour. In the same way, paint the coin shaped beads with metallic golden colour. Keep them for drying.
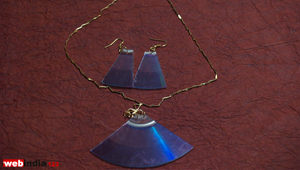
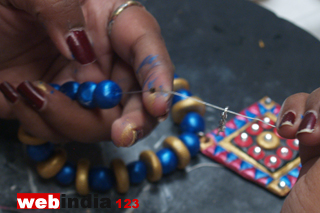
Take a jump ring and insert it through the hole of the pendant. Using nose pliers, tighten the edges of the ring. Cut the jewellery cable and insert it through the jump ring. Now alternatively string blue and golden beads onto the cable. Do it from both sides of the pendant. Finally add three or four blue beads without mixing the golden ones. Make sure that both sides of the necklace are of same size. Once you reach the desired length, leave three or four inches of jewellery cable at the end and cut the rest of it.
Now insert a crimp bead through the wire. Take the hook clasp. Hook clasp usually comes as two parts. One is a hook and the other is a ring. Different types of hook clasps are available. Insert the wire through the hook part and again take it back through the crimp bead. Take the same wire through the last bead as you see here. Gently pull the wire to tighten. So that it cannot move. Now using the flat nose pliers, press the crimp bead and lock it. Cut the extra wire, just below the bead.
Using crimp bead and the ring part of the hook clasp, lock the other side too. We have finished the necklace.
You can try it out with other designs and colours. It is always better to use bright metallic paints with the right combination of colours. Another important thing you need to keep in mind is that the sticking, cutting, rolling and hole making procedures should be done within 20-30 minutes, as the m-seal hardens quickly. |


_Main.jpg)